Friday 30 January 2015

Trifold Pocket Card!

Hellloooooo Dear Bloggersss!!!
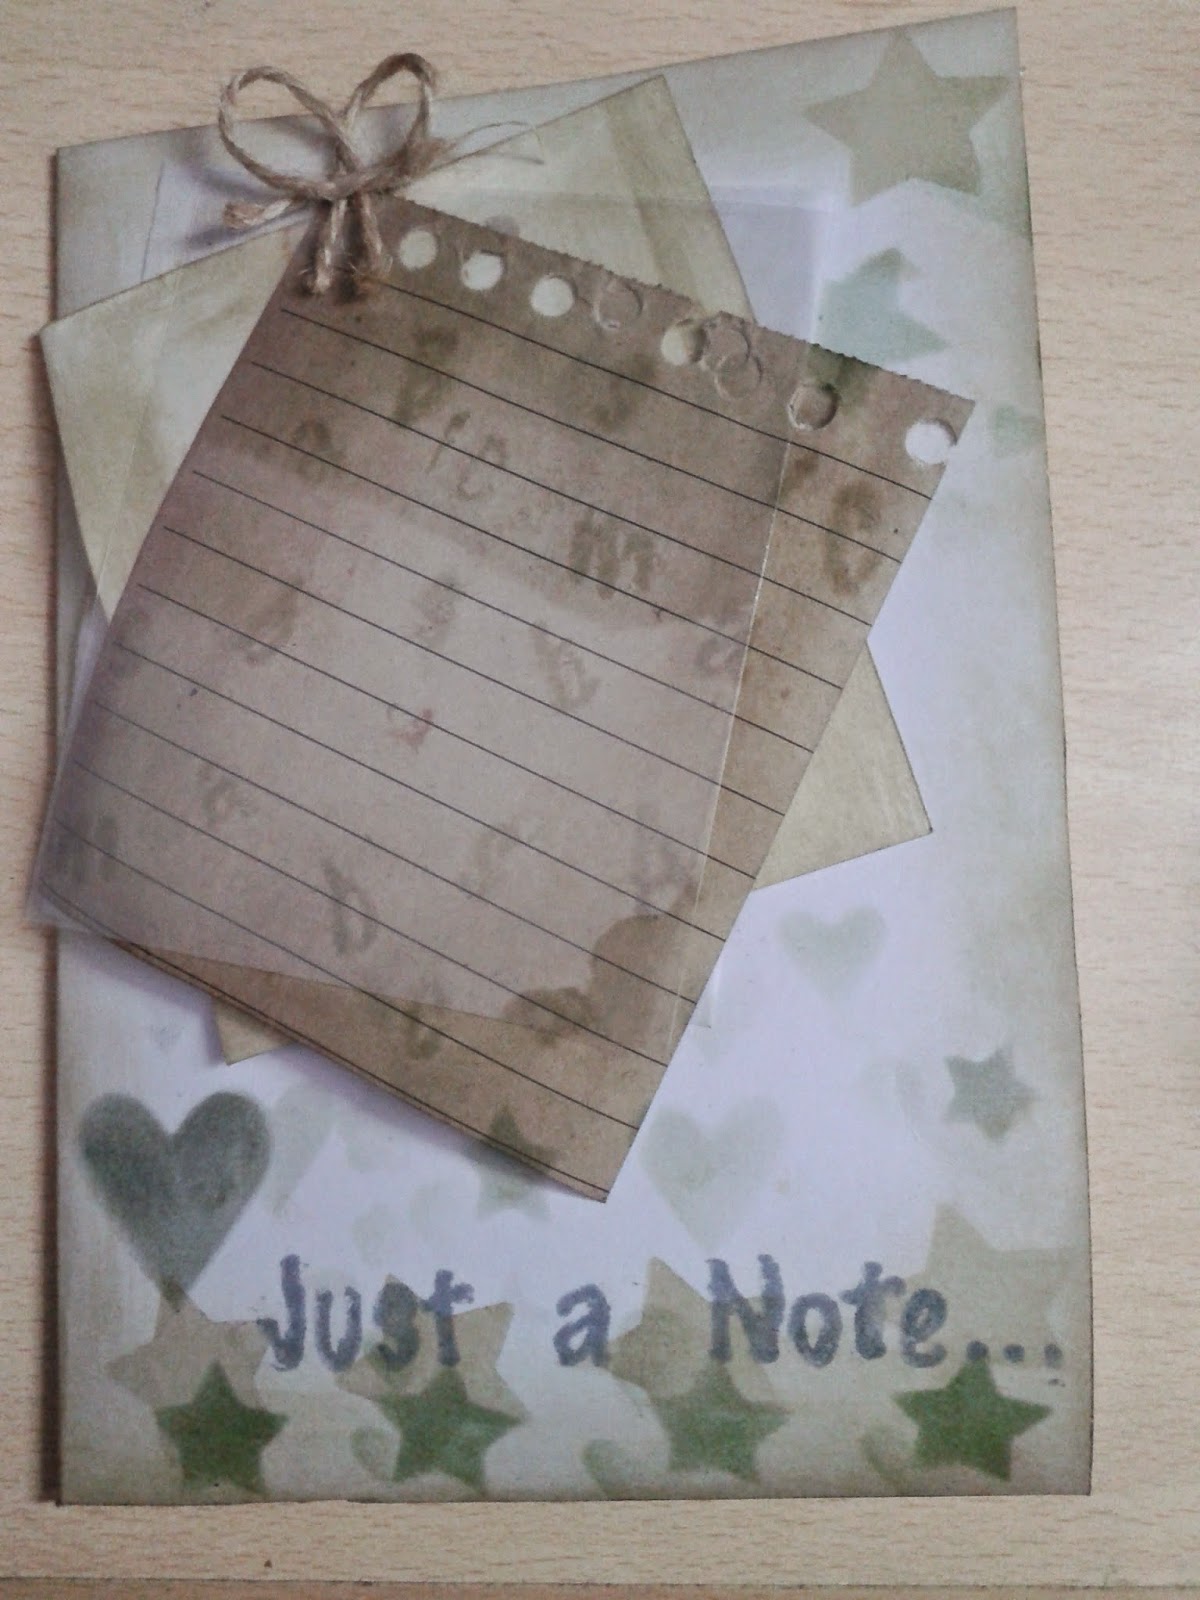
I have created a "Trifold Pocket Card"...!! This Card has lots of layers! :)
For this, I have used Craft Mania pattern papers. I have added a Magnolia Digi Stamp on a tag and coloured it using water colour.
I have used "salty ocean" and "weathered wood" distress ink to colour the other 2 tags. The tags create a shadowy effect to the image tag! :)
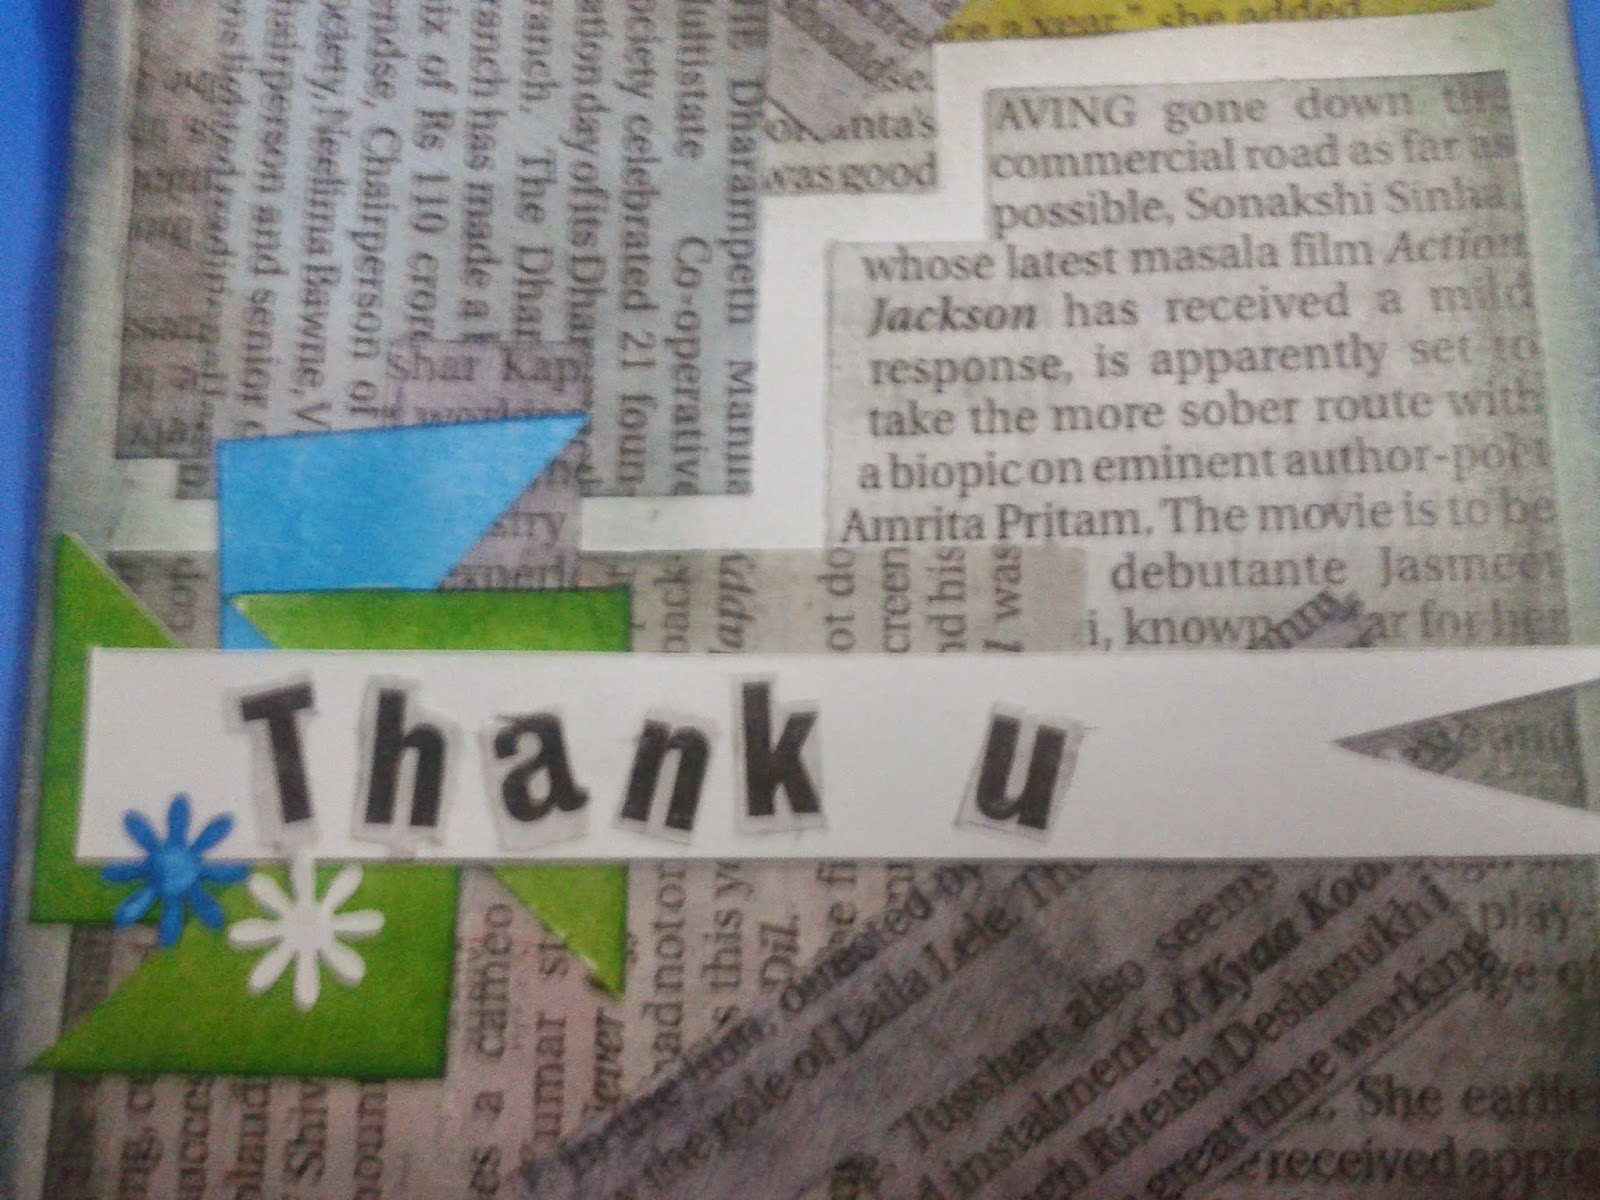
I have added salty ocean distrssed triangles and white coloured smaller triangles to the card!
The three embellishments are -blue coloured sequin, triangular white embellishment, triangular saly ocean embellishment.
I have stamped the sentiment using Bo Bunny Stamp.
Here is the card:

Thursday 29 January 2015

A Tent Card!

Hey My Sweet Sweettttt Crafterssss!!!

I am up with another Valentine's Day card! This one is something special as I have created a Tent Card which is triangular in shape. :)
I have created a Weaved Heart and made a suspension out of it! I am happy with the way it gives your card an impression! :D

New Things that I have tried out  are:
1.A Tent Card
2.A Suspension Card
3.Weaved Heart

I have added Heart punches at the bottom of the card and pasted them used 2sided glue tape.

The Sentiment is hand-written on a butter paper. :)

Check this out:

So, tell me how you find this one? :)

I am entering this card for the following challenges:
http://thepaperplayers.blogspot.in
http://artisticinspirationschallenges.blogspot.co.uk/
http://craftygalscornerchallenges.blogspot.co.uk/
http://stampinroyalty.blogspot.in/
http://www.trimmiescraftchallenge.blogspot.in/

Monday 26 January 2015

Stitches and Numbers!

Hello bloggers!!

I have come up with a simple yet colourful card with faux stitching . I have added Numbers to it and colored the numbers 2 and 8 indicating the age of Birthday! :)

I have used stencils to add numbers and colour splash. I have used distress ink to color the numbers.I have stamped using KaiserCraft Cartoon Alphabet clear stamps.


I am entering it for the below three challenges:
http://crafts4eternity.blogspot.in/ - done (top3)
http://alphabetchallengeblog.blogspot.in/-done
 http://crafterscafeblogchallenge.blogspot.in/-done

Sparkle and Shine!

Hello Crafters!

I created this glittery tag using stencil and Silver glitter pen! I used a Red glitter pen for the hearts and a stencil. I experimented and added white poster colour over which I stamped "Love You". I completed this tag within 10mins. I added a little texture around with stencil and sliver gel pen. I added the sequins to embellish the tag! In this way I created a glittery yet funky background! :)

I am entering this card for Speed Craft Challenge and The Crafter's Cafe Challenge


A Magical Slider Card!

Heyyaaa My Charming Bloggers!!

Valentine's Day is just around the corner and the fever has started spreading already! So I came up with a "love" magical slider card! :)

I have decided to make more of the valentines card but for now check this out...


You might at first think , "Oh, why the heart is not colored?" Oh wait, just pull the tag, down and down! And wooooo....the heart is colored and RED.

For stamping, I have used KaiserCraft Cartoon Alphabet Clear Stamps and Fire Brick distress ink. I have added the corners using a Stencil and worn lipstick distress ink. For the interactive part, I have used a permanent markker to make the heart and colored it used fire brick distress ink and stencil.


So, what do you guys think about this interactive card? 

I will soon come up with more cards/ projects..till then good bye and lots of love!!xx

;)


Monday 19 January 2015

Birthday Card!

Heyyaaaaa my inspiring friends!!!

I have created this CAS card. All you need is some ink and a pen!
This card took me hardly 5 mins....I am so happy to have created this simple yet colourful card!

Count 1....2....3...!! And the Card is ready! :)


Thanks CAS

Hellooooo Craftersss!!

I am up with a quick , easy and simple card!

I have used my new stencil and added distress ink-salty ocean, wild honey and worn lipstick to it!
The sentiment is hand written and it took my hardly 5mins to complete. I loved the simplicity of this card! CAS cards are outside my window because I love filling in the blank spaces in the card. But I have tried my best to keep it clean! (Its difficult you know :P )

How do you feel is this one?

I am entering this one for:
http://thepaperplayers.blogspot.in/2015/01/the-paper-players-challenge-228-leannes.html -done
http://unstampabelleschallenges.blogspot.in/

Quick Cards!

Hellooo my sweet friendsss..!!

Yesterday I made these cards which took me just about 5 mins each!

Quick and Easy!

All you need is a stencil, some ink and a pen!I hand-wrote the sentiments.

Here are my CAS creations:


So do you like them?

Sunday 18 January 2015

Thank you Card!

Hellooooo Crafter!!!

Here is another Thank you card from me! I haven't used any stamps for it!
I have used salty ocean, mowed lawn and seedless preserves distress ink. I used a few star, music and celebration stencils for the same. I have hand-written the sentiment. The card is easy and quick! :)

I am entering it in:
http://unstampabelleschallenges.blogspot.in/ -done
http://casethissketch.blogspot.in/ -done
http://inkspirationalchallenges.blogspot.co.uk/-done

You Rock My World!

Hello My Awesomely Inspiring Friendssssss!!!

I have come up with another CAS card ! I have used strong colors - fire brick, mowed lawn, salty ocean and wild honey distress ink. :)

I added the musical notes and a guitar using a stencil. I hand-wrote the sentiment with a Black Point Pen.
It is a quick card. It took me hardly 10mins to complete this card.. :)


I am entering this card into the following challenges:
http://casethissketch.blogspot.in/ -done
http://www.addictedtocas.blogspot.com.au/ -done
http://speedcraftchallenge.blogspot.in/ -done top 3
http://toptiptuesday.blogspot.it/ -done

Friday 16 January 2015

A Teddy Bear Shaker Card!

Hello Crafters!!

I have created a Teddy Bear Shaker card! Teddy bears are really cute and can melt your heart if someone gifts you a teddy card! My hubby and I had a little fight..so I decided to give him a card! He loved it! <3 :D

So, here is the card!

I have used a Red, Pink and White theme. I am using heart as my inspiration here (Muse celebration)..

I have added a teddy bear Connie Stamp and fussy cut it. I have used a red fabric color to fill in the heart. It gives your card a three dimensional look.

I have stamped the inside of the shaker card with Love stamp using seedless preserves distress ink! I am really loving the effect! :)
I added these little sequins and stuck the circle using 2 sided glue tape. I added the sentiment and cut out a pink heart and bordered it using the red fabric color. I used the heart stencil and fire brick distress ink to border the card with hearts! :D

I am entering them into the below challenges:
http://www.addalittledazzle.com/dazzling-diva-challenge-58/ -done
http://www.hidinginmycraftroom.com/-done
http://stampedblessings.com/ -done


Monday 12 January 2015

Twist of Music CAS!

Helloo Everyone!!
I have created another CAS card with the twist of music to it!
I have created a tag using seedless preserves distress ink and music stencil. Then I added a musical notes strip and coloured it with the old paper distress ink. I stamped the sentiments in colour wrote the black part. I created this card very quicky! It took me hardly 15mins :)


Entering for the challenges:

http://speedcraftchallenge.blogspot.in/ -top 3
http://addicted-to-stamps-challenge.blogspot.in/ -done

Thank You Card!

Hello Crafters!!

I have created a quick CAS card! I have used "wild honey"distress ink and water for the background. I have used mowed lawn distress ink for the sentiment-"Thank You".
I colored the card light brown using water colors. I stuck a few sequins and was done!
This card took me hardly 15mins. I have used just 1 set of stamps- Alphabet clear stamp!
I got my inspiration from our very own Catchy Designs Lovely Lady Deepti Stephens.

I am entering this card for the following challenges:

http://www.blog.winniewalter.com/2015/01/w-1st-birthday-bash-one-challenge-with.html
http://www.cardchallenges.com/search/label/sketchchallenge
http://thepaperplayers.blogspot.in/

Sunday 11 January 2015

Interactive Spinning Card!

Helloooo Crafters!!! I am back with another card! :) I created this interactive spinning card! I enjoyed making this card.


I used 2 types of patterned papers and used the blue/turquiose handmade sheet. I have added a digi and painted it using water colour! I have added blue/turquiose and lime embellishments and flower punches.

For the interactive part, I have added a dime below the Magnolia Stamp so that it moves smoothly along the circle! :)
I have used circular shapes everywhere! This is something new to me and I have enjoyed experimenting this interactive technique!

Check out more pics:


I have used a black point pen to highlight the borders of the Magnolia Stamp!
I have used salty ocean distress ink and clear stamps for adding the sentiment!
Have another look at this card! :) Circle has become one of my favorite shapes because they look different and can be used in so many ways! :D


Materials used:
1.handmade blue cardstock
2.2 blue patterned paper
3.blue/turquiose and lime embellishments
4.Tilda Stamp
5.Flower punch
5.glue tape/dime/cuttimg mat/water colours

I am entering the card for the following challenges:
http://scrapbookstampsocietychallengeblog.blogspot.nl/2015/01/challenge-57-anything-goes.html 
http://onestitchatatimechallenge.blogspot.in/ -ends on 25th 
 http://alphabetchallengeblog.blogspot.in/2015/01/x-for-x-periment.html 

Friday 9 January 2015

Pink hues!

Hellooooo Crafterssss!!!
I was really inspired by this week's challenges! So I was tempted to make this card! This one is a Clean and Layered Card!
So I decided to use this cute belt and the pink colour! The challenges seemed very exciting! Here I present before you a cute card inspired by the below images!


I have used a Tilda Stamp and I painted it using water colours. I liked the belt from the above image and thought of incorporating it in someway ! So I created a small buckle using magenta coloured card stock. I also added a flower shaped sequin to the card for embellishment!! :) I used a crayon resistant technique and created a bokeh-like effect on the card..!

Here are the close ups:
 I have purposefully colored Tilda with Magenta and blue to match the colour palette !! :D I have high lighted the corners with worn lipstick distress ink to give a magenta/red look to the corners! Hope you guys like it! :)


and one more..


Here is another look at the card! :D


These are the images that inspired me :


I am entering this card into the below challenges:

1. http://runwayinspired.blogspot.com - end on 16th jan
3.http://www.craftforthecraic.blogspot.ie/ - ends on 31st jan
4,http://brownsugarchallenge.blogspot.in/ - ends on 14th jan
5.http://stamplorations.blogspot.in/2015/01/bi-weekly-sketch-challenge-25.html - ends 16th jan
6. http://allsortschallenge.blogspot.in/ -ends on 16th jan 
7.http://www.cardchallenges.com/2015/01/new-year-first-sketch-challenge.html -ends on 14th
8.http://scrapbookstampsocietychallengeblog.blogspot.nl/2015/01/challenge-57-anything-goes.html -ends 18/1
9.http://sundaystamps.blogspot.co.uk/ -ends on 16th 
10.http://glitternsparklechallengeblog.blogspot.co.uk/ -ends on17/1
11. http://creativecolorschallenge.blogspot.in/2015/01/creative-colors-challenge-27-plus-blog.html  -ends on 18/1
12.  http://thecardconcept.blogspot.in/2015/01/card-concept-100-happy-one-year.html -ends on 20/1

A Cupcake Shaker Card!

Helloooooo my dear friends!! :)
I came across a few challenges that tempted me to make this card!
The card is a Cup Cake Shaker Card!


Here is how i started,

I printed a CupCake with Stars Digi and pasted it on a Pink Cardstock. I used some pretty colourful star-shaped sequins and added them at the border of this card! I used White and Pink card stock for its borders.This all makes a fancy shaker card..!! :)

I must say that making a shaker card in a small area is not easy at all! It takes a lot of your patience and energy! But in the end, all is worth it baby! :D


I used water colors to paint the digi and used "worn lipstick" distress ink and applied it to the border. I shaded the outer border of Digi with magenta colored water-color. Here is a look at it:
I have made a tag using distress ink (salty ocean and mowed lawn) and stamped the sentiments using alphabet clear stamps.

And finally the card is ready! Wohoooo!! :) :)

 I am entering them for the following challenges:


http://catchychallenges.blogspot.in/ - ends on 25th jan 

Tuesday 6 January 2015

No Stamping Patch Work Tag!

Hey bloggers!!
Here is a tag that I present to you without using Stamps(Digi , Rubber or Clear)! This is quite challenging after you are smitten by stamping!
So, here is a tag where I have used "Patch Work". We all have useless newspapers with us. So, I decided to make some use of it. I made patch work out of it and I have distressed it with "Old Paper" and "Weathered wood"  ..It gives your tag a "Muddy" look! :D

I have added the Thank you sentiment(not by using stamps) but I cut out the fonts from the newspaper and decided to use it!  I embellished the tag using mowed lawn and Salty Ocean triangles and decorated using flower punch.

Here you go now, the "Thank You"tag is ready! :)


I have used the below materials:
1.Newspapers
2.Distressed ink-old paper/mowed lawn/salty ocean and Weathered wood.
3.Flower punch

I am entering them into the below challenges:
http://cutedaisymay.blogspot.in/
http://craftingfromtheheartchallengeblog.blogspot.in/
http://thepaperplayers.blogspot.in/

Monday 5 January 2015

Just a Note! (CAS)

Hi All!

  We all love it when we get a note from someone, don't we? So, this card is just for the same! :)I present before you a CAS card that won't take much of your time! :D I have given this card a vintage look. :P


I started by using "old paper" distress ink. The card dimensions are 7*5inches. I cut out the sheets of butter paper, a card and transparent sheet.
I punched one of the card sheet and stamped the alphabets on it with old paper distressed ink. I added these pages together and embellished them using a string!
Have a closer look at it! :)

Then I added some little stars and hearts over the card with a stencil. This distressing might be old but blending it with new colors is always challenging!The sentiment is written using weathered wood distressed ink and the card is ready! :)
Material used:
1.Distressed ink old paper
2.Distressed ink weathered wood
3.cardstock
4.Butter paper
5.Transparent sheet
6.Alphabet Clear stamp
7.Tim Holtz ink applicator.

I am entering this card for :
http://inkspirationalchallenges.blogspot.co.uk/2015/01/challenge-73-word-prompt-note.html
http://craftingfromtheheartchallengeblog.blogspot.in/
http://www.simonsaysstampblog.com/mondaychallenge/
http://virginiasviewchallenge.blogspot.in/
http://cardz4guyz.blogspot.co.uk/
 

Saturday 3 January 2015

Tag Table Calender..!!

Hello Bloggers!! :)
A very Happy New Year 2015 to you all!! Me and my husband decided to start with a new year project. He loves photography so he would be making a calender using Photos. And this got me thinking! So, here I am presenting before you a new year project - A Tag Table Calender!! :D


I am getting addicted to distressed ink! Wow!  I said it loud now! :DThis calender idea is something new to me and I am enjoying it ! It is also a CAS idea. :) I am not so comfortable making stands, so I tried this for the first time.
I started making these tags first. I created 12(January to December) + 4(0 to 3)+ 10(0 to 9)+ 3 Transparent paper tags. In total 29 Tags for this calender!!

So, I started with the 12 tags (dimensions are 2.5inches* 5 inches) from January to December
For this, I have used Tim Holtz Kit 2.
(
Kit #2
SwatchSwatchSwatchSwatch
Fired BrickMowed LawnSalty OceanSeedless Preserves
)

I used all the four colors to make it look colorful. The distressed ink gives your paper a very beautiful look!!

Then i decided to merge all the four colours on one tag paper for the number tags(0 to 9 and 0 to 3).
So, here is how i blended them on all four corners.
And they are ready!!

 So, now we have 12 tags for the months and 14 tags for the numbers of the month ready with us!
For Stamping, I used the Clear Stamps Alphabets. I stamped all the months of the calender on the 12 tags that I created. Here is a look at it..
And more pics..

I added the digits using stencils and seedless preserves distressed ink.

I used these cute star clamps to hang the tags on the stand..We can also use hooks instead of the clamps. However, clamps make it easy! :)
 Now, for the stand, I began by using a card board and cutting it into dimensions greater than the three tags combined.
I covered the stand with brick patterned paper. I have utilized the corners of cut tags by decorating them at the bottom!! :)
I also used a strip combining all the four colors and stuck it at the bottom on the stand for decoration.
The stand is erected using  cardboard strip at the back side of the board.

Here is another look at the Tag Calender!
The best thing about it is, it can be easily customized!! I have added 3 transparent tags in front of these tags in order to increase its life. :)
I am thinking of adding days tag to it too! we can add year tags too!! We can customize this calender and change the theme/colors of it easily!

I am happy to begin this year with my calender project! You can flaunt this calender in your office cubical or your study table at home! :)

The material I have used is:
1. Tim Holtz Distressed Ink Kit # 2
2. Alphabet Clear Rubber Stamps
3. Number stencil
4. Card Sheets
5. Brick patterned paper for stand
6. Tim Holtz Ink Applicator
7. Star Clamps
8. Cardboard
9.Cutting mat/ cutter/scale

I have entered this into a lot many challenges:
http://anythingbutacard.blogspot.in/ -ends on 25/1 
http://thatcraftplaceblog.blogspot.co.at/2014/12/new-challenge-anything-goes.html --didnt get post yet